
DIY fueling guide
DIY endurance fueling guide: build a plan you can execute
Prepare drinks, gels and your intake schedule from your carbohydrate and sodium targets.
What you get from this guide
- Turn hourly targets into bottles, flasks, gels, and aid-station decisions.
- Build one setup for training, one for heat, and one for race day.
- Reduce gut issues by controlling drink strength, timing, and carry limits.
- Leave with a plan you can tighten in the calculator instead of guessing from article to article.
Quick navigation
In practice
Prepare 500 ml of a 6% drink
Example without added sodium: 20 g maltodextrin + 10 g fructose, then drinking water up to a final volume of 500 ml. The 30 g carbohydrate gives 6%. Adding 500 ml water to powders does not produce exactly 500 ml drink.
- Weigh powders in a clean vessel. Dissolve in about 300 ml water; rinse residues into the mix. Top up to the 500 ml mark, close and shake. Record ingredients; try taste and tolerance on an easy outing.
- Wash hands, tools and container; use drinking water. Prepare a small trial batch. If waiting, refrigerate promptly at 0–4 °C, within 2 h at most. This general rule establishes no gel shelf life, especially in heat: DYF has performed no microbiological testing.
Preparation sheet: 60 g carbohydrate
Starting formulation to try, with no physical texture or storage validation. For two servings of 30 g carbohydrate: 40 g maltodextrin + 20 g fructose + 40 g drinking water. Theoretical total mass: 100 g, or two 50 g servings. Density has not been measured: 100 g does not mean 100 ml. No added sodium or caffeine.
- Wash hands, tools and container; use drinking water. Prepare a small trial batch. If waiting, refrigerate promptly at 0–4 °C, within 2 h at most. This general rule establishes no gel shelf life, especially in heat: DYF has performed no microbiological testing.
- Tare a clean bowl. Weigh water and powders separately. Gradually mix powders into lukewarm water, then let cool. If too thick for your flask, add a measured mass of water and record the new total mass; each half still contains 30 g carbohydrate.
- Portion by weight, label composition and date, check closure and flow before training. Plan water separately. Replace a container that leaks or cannot be fully cleaned.
Source and scope : ANSES — Hygiène domestique (2017). General food hygiene; this source does not validate this recipe.
DIY tutorials
Make your homemade mixes step by step
Choose a recipe, then follow the illustrated steps. Weigh the ingredients and use the stated final volume; if you add water, record the new amount.
Gels (steps)
Goal: get a smooth gel that is easy to swallow and free of lumps.
Set the flask on the scale
Place the empty flask on the scale, tare it, then fit the funnel. Keep the ingredient bags open and ready so the pour stays clean and quick.
Practical cues
- Start with a clean, fully dry flask.
- Tare the scale before each ingredient.
Tip
If the neck is narrow, hold the funnel with one hand and pour slowly with the other.
Bottles (steps)
Goal: fully dissolve the powder and keep the drink easy to sip.
Load the bottle while dry
Set the empty bottle on the scale or measure your doses, then pour in 20 g of maltodextrin and 10 g of fructose. Start with a dry, stable bottle.
Practical cues
- 20 g maltodextrin + 10 g fructose.
- Bottle clean and dry before the first pour.
Tip
A wide funnel makes it easier to avoid powder sticking to the edges.
Basic equipment
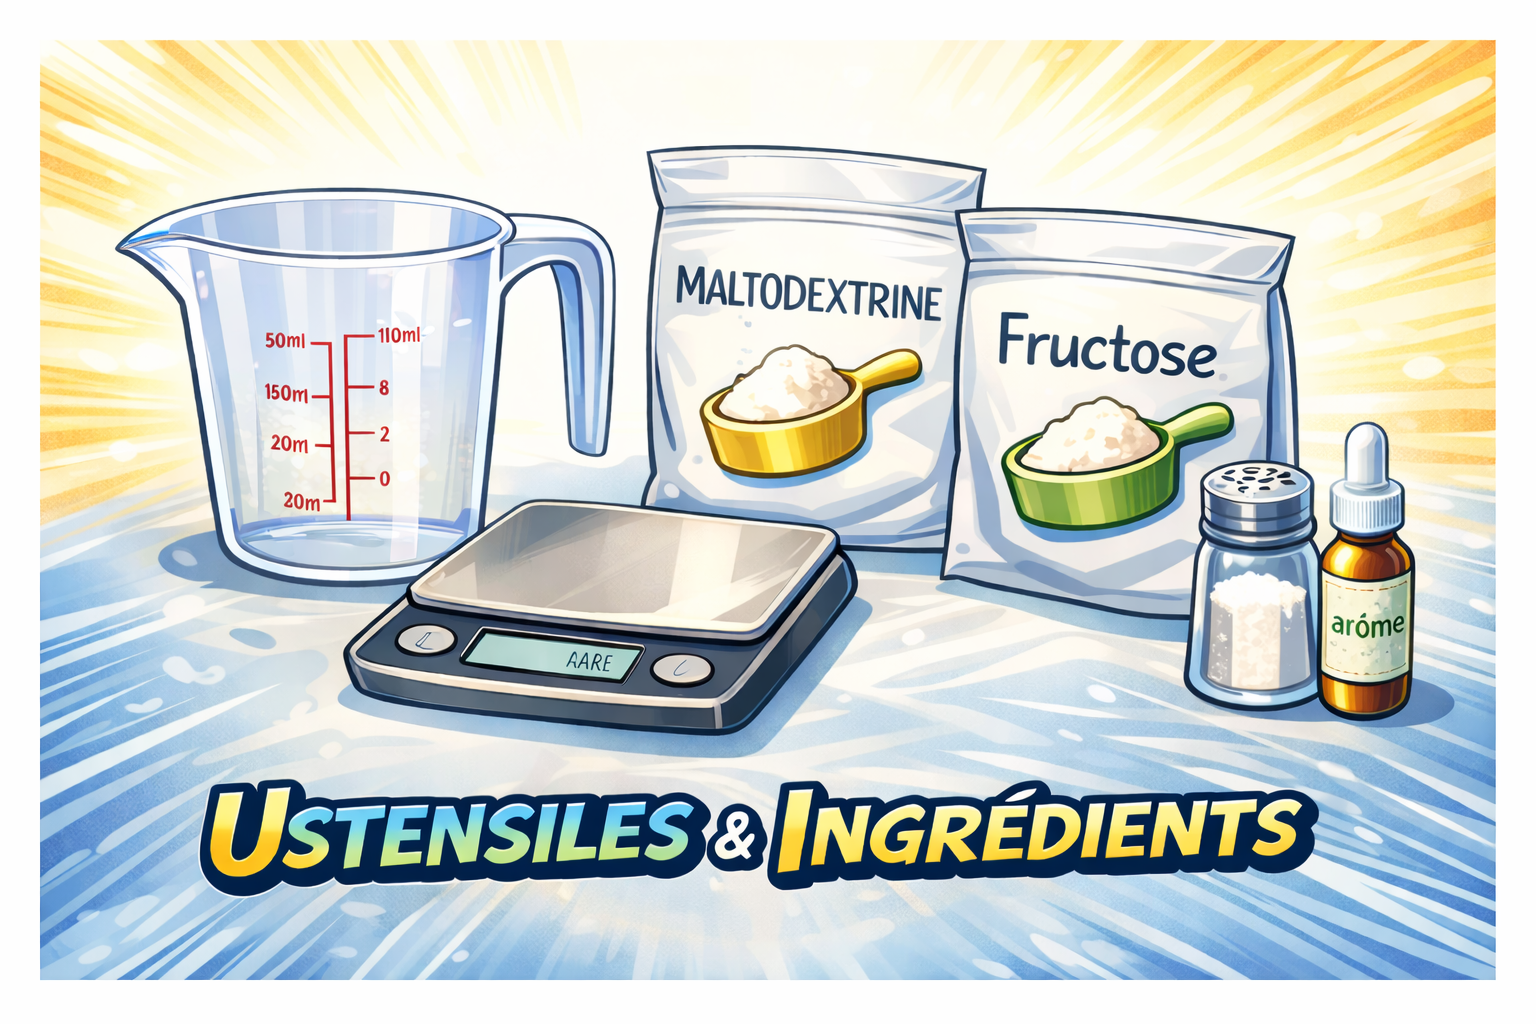
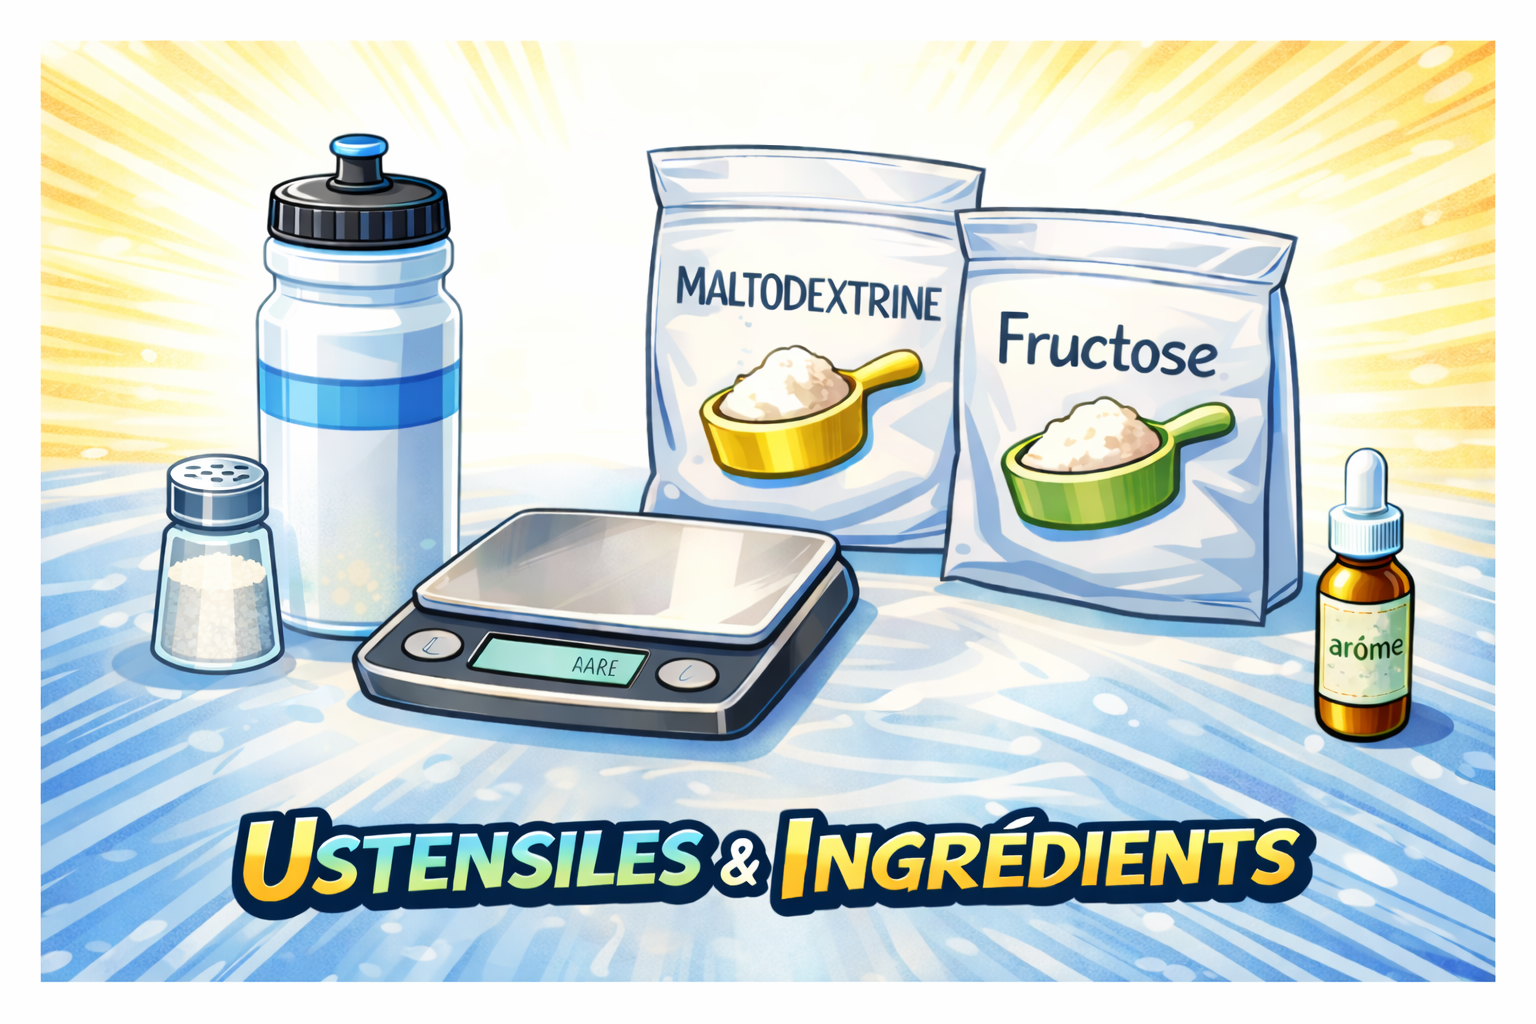
Precise scale, funnel, soft flask, clean bottle, spoon, lukewarm water, table salt, and carb powders.
Who this is for
- Endurance athletes who want a simple DIY setup before they start overcomplicating bottles, gels, and products.
- People who already know they need carbs, fluid, and sodium, but do not yet have a setup they can execute cleanly.
- Anyone who wants to move from reading to a plan they can test in training this week.
Use this page if
- You want to turn hourly targets into bottles, gels, flasks, and aid-station choices.
- You need a plan A and a backup plan before race day.
- You want to finish with a setup ready for the calculator.
Section 01
Where to start
Pick the entry point that matches what you need. Each line opens the most useful next step.
- I want to build a homemade sports drink. Read: Homemade sports drink.Sports drink
- I want to make a homemade gel. Read: Homemade energy gel.Homemade gel
- I want to set my carbs per hour. Read: Carbs per hour in endurance.Carbs/h
- I want to adjust sodium for heat. Read: Sodium and electrolytes.Sodium
- I want to adapt my hydration. Read: Endurance hydration.Hydration
- I want a numbers-based plan right away. Open: DYF calculator.Calculator
Section 02
Prepare the session: checklist and routine
A short routine and a checklist are enough to make execution reliable. The day before, you prepare; during, you follow the plan; after, you note what held.
- Bottles and flasks clean and labelled.
- Carb grams written on each container.
- Sodium milligrams written on each container.
- Plan A normal weather written out explicitly.
- Plan B strong heat with adjusted volume and sodium.
- Everything tested at least once on a comparable session.
Section 03
1) Start with the session, not the recipe
Do not start by asking which powder, gel, or bottle recipe looks best. Start by defining the session: duration, intensity, weather, aid stations, and how much you can realistically carry.
A cool 90-minute run, a hot marathon, and a five-hour trail day do not need the same setup even if the same athlete does all three.
The recipe comes after the job is clear. First fix the context, then choose the simplest format that can cover it.
- Example: a marathon plan needs simple station execution; a long ride can carry denser bottles and more backup fuel.
- Mistake to avoid: choosing ingredients first and only later asking how much you actually need per hour.
- First decision: set a carb range, a fluid range, and a sodium range before you mix anything.
Section 04
2) Pick an hourly target you can actually hold
Most plans fail because the number sounds impressive on paper but falls apart once effort rises. A lower target you can hold for the full session is worth more than an aggressive number you stop taking after 70 minutes.
Start from a realistic hourly range, then adjust only after two or three similar sessions confirm it. Do not chase your highest possible intake before you have a stable base.
If energy fades first, fix carbs first. If heat and thirst break the plan first, fix fluid and sodium before you try to push intake higher.
- Practical starting point: 60 g/h is often a better first build than trying to jump straight to 90 g/h.
- Use the calculator once you know which lever is actually failing: intake, volume, sodium, or execution.
- Keep the first version boring enough that you can repeat it next week without friction.
Section 05
3) Build the setup in units you can carry
Think in units: bottles, soft flasks, gels, and aid stations. If you cannot explain what each unit contains, the plan is still too abstract to execute well.
Every unit should answer three questions: how many carbs, how much fluid, and how much sodium. That is what makes a DIY plan usable under pressure.
This is where DIY is valuable. You can choose denser or lighter formats depending on the sport, the carry limit, and how your gut handles concentration.
- Example: 1 bottle = 30 g carbs + 300 mg sodium, 1 gel = 25 g carbs, 1 flask = backup calories.
- Marathon: keep the setup lighter and easier to use around aid stations.
- Cycling or long trail: denser bottles or extra flasks make more sense when you can carry more.
Section 06
4) Test one race-day scenario at a time
Do not test a new carb target, a new drink mix, and a new caffeine plan in the same week and expect to learn anything useful. Change one variable at a time.
Keep the session comparable, then test concentration, hourly intake, sodium, caffeine, or timing one by one. That is how you learn what actually fixed the problem.
What matters is repeatability, not one lucky workout where everything happened to go well.
- Track the session type, weather, target, amount taken, and any gut warning sign.
- Give each version at least two comparable sessions before you decide it works.
- If the gut breaks first, simplify drink strength before pushing intake higher.
Section 07
5) Build a backup plan for race day
A usable DIY plan always includes a fallback. Missed station, dropped bottle, hotter weather, or slower pace should not collapse the entire strategy.
Your plan A covers normal execution. Your plan B tells you what changes first when carrying, drinking, or swallowing gets harder late in the session.
This is the difference between a nice spreadsheet and a plan you can still execute at hour three.
- Decide in advance what changes first in heat: more fluid, more sodium, or both.
- Decide what you will take from aid stations and what you must carry yourself.
- Write the first 60 to 90 minutes as a simple script, not as vague intentions.
Section 08
6) Debrief and tighten the setup
After each long session or race, keep the review short: what held, what failed, and what felt hard to execute. Long notes do not matter if they never change the next build.
Do not rebuild the whole system after every workout. Tighten the one weak point that matters most, then keep the rest stable.
Over time, the best DIY plan becomes boring: same logic, cleaner execution, fewer surprises.
- Good sign: steady energy, no guesswork, and no late-session panic.
- Weak sign: skipped intakes, drink too strong, or no backup when conditions changed.
- Next step: lock the setup in the calculator and confirm ingredients on the Products page.
FAQ
Is DIY fueling less effective than ready-made products?
No. DIY works well when the setup is simple enough to repeat. The limiting factor is usually execution quality, not whether the carbs came from a branded gel or your own mix.
Should I aim for 90 g/h right away?
Usually not. Build the highest intake you can repeat with good gut comfort before you try to push the ceiling higher.
How do I make the plan more gut-friendly?
Reduce drink concentration, move some carbs into separate gels or flasks, keep timing steady, and change one variable at a time.
What matters more: the carb target or the bottle recipe?
The target comes first. Once the hourly target is clear, you can choose the recipe and format that make it easy to carry and easy to absorb.
Does this guide replace medical advice?
No. This page is educational. If you have a medical condition, treatment, or repeated symptoms, get individualized medical guidance.
Important note
This information is educational and does not replace medical advice. Any strategy should be tested in training before competition.
Build the plan
Once your first setup makes sense on paper, use the calculator to turn it into hourly amounts and use Products to lock ingredients, containers, and carry choices.
What to open next
This page should lead you to the next useful action: tighten the target, understand the why, find the right race guide, then turn the setup into a plan you can run.
Targets
Carbs per hour
Set the intake range before you decide how dense the bottle or gel should be.
Science
Endurance fueling basics
Use the science page when you need clearer logic on hydration, sodium, and gut tolerance.
Race guide
Find your sport guide
Jump to marathon, trail, cycling, triathlon, ultra, or troubleshooting from the learn hub.
Calculator
Build your fueling plan
Turn the setup into hourly amounts, bottle counts, sodium targets, and backup logic.
Products
Products and ingredients
Check the ingredients, containers, and carry options that match the plan you want to test.
Appendix: European standards and reference publications
These sources provide the methodological base for this guide. They do not replace personalized medical guidance when a condition or treatment is involved.
A) European standards and framework
EFSA Dietary Reference Values for sodium (EFSA Journal, 2019) - official link. European benchmark for adequate sodium intake.
EFSA Dietary Reference Values for water (EFSA Journal, 2010) - official link. European framework for adequate fluid intake.
Regulation (EU) No 1169/2011 (EUR-Lex, 2011) - official link. Core EU rules on consumer nutrition information.
Regulation (EC) No 1924/2006 (EUR-Lex, 2006) - official link. Legal framework for nutrition and health claims.
B) Research and scientific consensus
A step towards personalized sports nutrition: carbohydrate intake during exercise (Sports Medicine, 2014) - view source. Foundation for individualizing carbohydrate intake.
Nutrition and Athletic Performance (ACSM Joint Position Statement, 2016) - view source. Reference consensus on nutrition and performance.
Systematic review: exercise-induced gastrointestinal syndrome (Alimentary Pharmacology & Therapeutics, 2017) - view source. Evidence on gut tolerance during prolonged exercise.
ISSN position stand: caffeine and exercise performance (Journal of the International Society of Sports Nutrition, 2021) - view source. Recent position stand on caffeine use for performance.